
Understanding Countdown Timers in Outlook Emails
In the world of email marketing and professional communication, time is often of the essence. This is where countdown timers come into play, acting as an effective tool to create urgency and anticipation. A countdown timer in Outlook email not only enhances the aesthetic appeal of an email but also increases engagement with recipients. This article will explore the significance of countdown timers, guide you through their creation and integration in Outlook, and provide insights into their effective use.
What is a Countdown Timer?
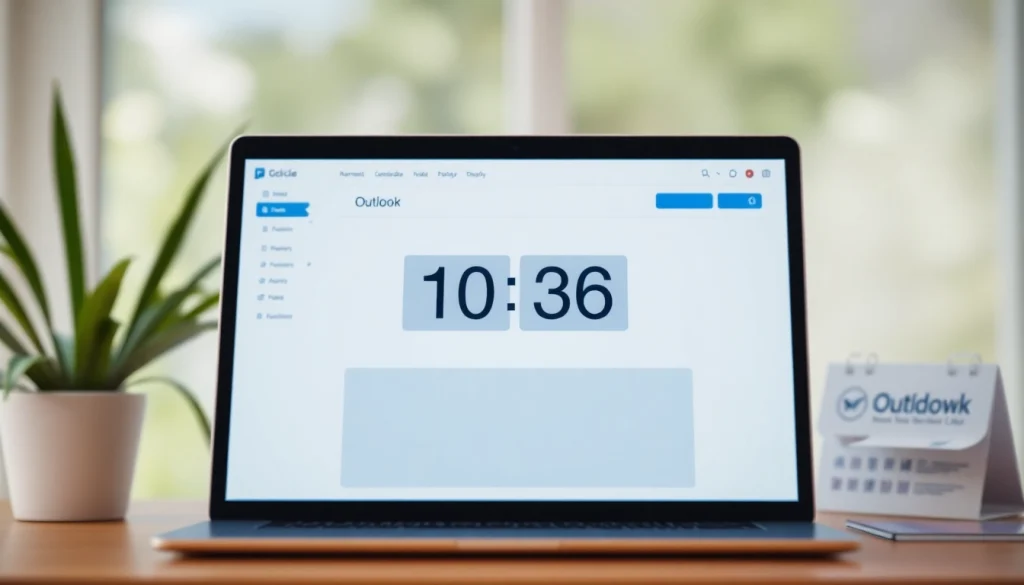
A countdown timer is a dynamic visual element that counts down to a specific event or deadline. Its primary function is to inform recipients of how much time remains before a particular date or time, such as a product launch, sale, or event. These timers typically display hours, minutes, and seconds until the countdown reaches zero, at which point they can trigger an action, such as a purchase or registration.
Why Use Countdown Timers in Emails?
The use of countdown timers in emails serves multiple strategic purposes:
- Creating Urgency: A ticking clock instills a sense of urgency among recipients, encouraging prompt action.
- Boosting Engagement: Visually appealing countdowns enhance user engagement, leading to higher click-through rates.
- Clarifying Limitations: Timers can emphasize limited availability of products or services, motivating quicker decisions from customers.
Common Uses for Countdown Timers
Countdown timers are versatile and can be used in various contexts, including:
- Sales Promotions: Announce end dates for discounts or special offers.
- Event Reminders: Create excitement leading up to webinars, product launches, or live events.
- New Product Releases: Generate buzz for upcoming product launches.
Creating a Countdown Timer in Outlook
Putting a countdown timer in your Outlook email requires a systematic approach. Below are the comprehensive steps to create an effective and visually appealing countdown timer.
Step-by-Step Process for Implementation
To create a countdown timer in Outlook, follow these instructions:
- Create Your Timer: Use timer creation tools such as MailTimers or other third-party services to design your countdown timer. Adjust parameters like the end date and choose a design that aligns with your email’s theme.
- Export as HTML: Once designed, export the countdown timer as an HTML file. Most timer tools will provide you with a code snippet that can be embedded in your email.
- Open Outlook: Launch the Outlook application and begin composing a new email.
- Enable HTML: Click on the “Options” tab in the email window and ensure that HTML formatting is enabled for the email body.
- Embed the Timer: Insert the HTML code by going to “Insert,” selecting “Attach File,” and then choosing “Insert as Text” to make the countdown timer visible within the email body.
- Send Your Email: Double-check your email for accuracy and send it to your intended recipients.
Tools Required for Setup
To seamlessly create and implement countdown timers, you will require the following tools:
- Countdown Timer Builder: Utilize platforms like MailTimers, Sendtric, or MotionMail which allow you to design customizable timers.
- Email Client: Microsoft Outlook (compatibility with Outlook Web version may vary).
- Basic HTML Knowledge: Familiarity with HTML will help in troubleshooting and ensuring your timer displays correctly.
Design Considerations for Your Timer
Your countdown timer’s design plays a crucial role in its effectiveness. Here are some design considerations:
- Color Scheme: Use contrasting colors to ensure the timer stands out in the email.
- Branding: Incorporate brand colors and logos to maintain consistency with your overall branding strategy.
- Readability: Use a clear font that is easily legible even in smaller sizes to avoid confusing recipients.
Embedding the Timer into Your Email
Once you’ve created your countdown timer, the next step is to embed it into your email effectively. Here’s how to ensure a smooth integration.
Using HTML for Email Integration
Embedding a countdown timer often requires a basic understanding of HTML. Here’s a simple guideline:
After importing the code into your Outlook email, ensure it is in the right format. You should place the timer code directly into the HTML section of the email composition to avoid formatting issues.
Ensuring Compatibility Across Devices
With many users accessing emails from various devices, ensuring compatibility is vital. Here are some tips:
- Responsive Design: Design your countdown timer to be responsive. Some tools allow you to preview how the timer will look on different devices.
- Test: Send test emails to yourself on different devices (desktop, tablet, mobile) to see how they render.
Testing Your Countdown Timer
Before launching your countdown timer campaign, thorough testing is essential:
- Functionality Test: Ensure that the timer counts down accurately and updates in real time.
- Visual Check: Confirm that the timer appears correctly formatted in different email clients and devices.
- User Interaction: Encourage colleagues or friends to test the timer and collect feedback on their experience.
Best Practices for Effective Countdown Timers
To maximize the impact of countdown timers in your emails, consider implementing the following best practices:
Choosing the Right Design and Colors
Design is critical when aiming for user engagement. Use eye-catching colors that align with your brand, and ensure the timer is distinct enough to catch attention immediately upon opening the email.
Timing & Frequency of Use
Knowing when and how often to use a countdown timer can significantly impact your campaign performance:
- Seasonal Promotions: Use timers during holidays or specific events when customers are most likely ready to engage.
- Strategic Frequency: Limit usage to avoid overwhelming your audience; only use them when essential for your message.
Measuring Engagement and Effectiveness
After launching your countdown timer email, tracking its performance is crucial for future improvements:
- Analytics Tools: Leverage Microsoft Outlook’s analytics, or integrate email tracking tools to measure open rates and click-through rates.
- Feedback Collection: Post-campaign surveys can provide insight into how users felt about the countdown timer and their reason for engagement or inaction.
Advanced Tips for Dynamic Countdown Timers
For those looking to take their countdown timer usage to the next level, here are a few advanced strategies:
Linking to External Events
Enhance the functionality of your countdown timers by linking them to external events (e.g., live streams or webinars). Make clicking the timer redirect users to a landing page where they can learn more about what they’re counting down to.
Integrating with Marketing Campaigns
Use countdown timers as part of larger marketing campaigns to create an interconnected experience:
- Email Sequences: Incorporate timers across a sequence of emails leading up to an event.
- Social Media Links: Sync your email countdown with social media promotions to ensure a holistic marketing strategy.
Future Trends in Email Marketing with Timers
The evolution of email marketing continues to open new avenues for countdown timers:
- Personalization: Future trends may involve hyper-personalized countdowns based on user habits and preferences.
- AI Integration: Utilizing AI could enhance the effectiveness of timers by allowing real-time adjustments based on user engagement levels.
Conclusion
Implementing a countdown timer in your Outlook email can transform how you engage with your audience. By understanding its significance, mastering its creation, embedding strategies, and adhering to best practices, businesses can create powerful communication tools that entice recipients to take action. As technology and marketing strategies evolve, harnessing the capabilities of countdown timers can keep your email campaigns fresh, engaging, and results-driven.